


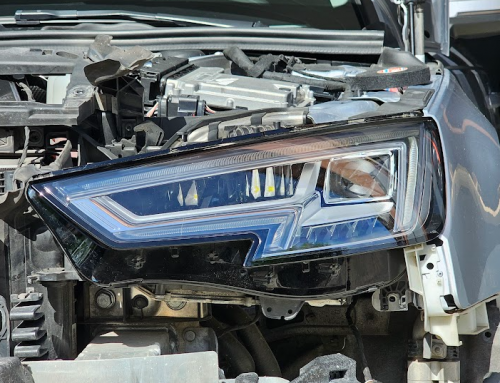
Back-up camera retrofit
Status:
This retrofit has been succesfully implemented and tested on mine A4 B9, and it’s still active.
Needed parts:
Price:

60 €
1 – Wiring
Connect CAN BUS cables
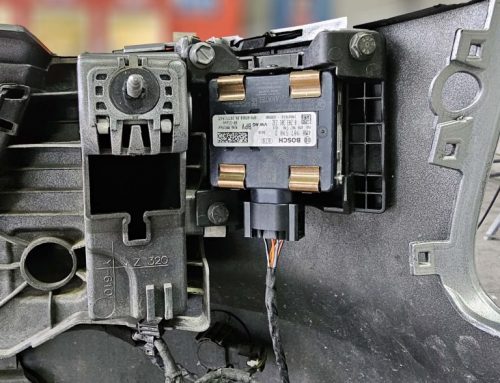
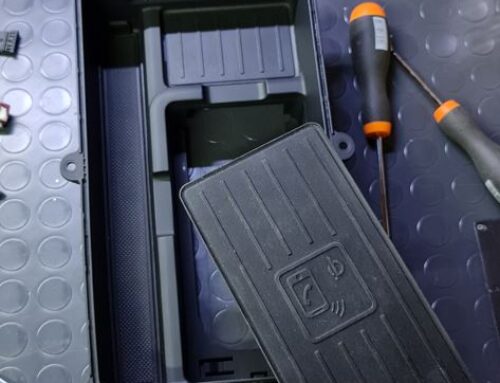
CAN wires need to be connected under the rear seats in the black J533 module (Gateway). The rear seat is fixed by 2 clips. After you removed the rear seat, you need to connect the 2 orange wires to the module socket. If you have an ISOFIX system, remove those plastic caps as well, it will be easier when you put back the rear seat.
You need to connect the wires like this:
- Orange + Purple from the extension cord (CAN High) connects to PIN 12 (gray wire in the original plug)
- Orange + Brown (Can Low) from the extension cord connects to PIN 30 (orange wire in the original plug
In order to avoid cutting wires or soldering, you must use the connector as shown in the following photo:


Connect video cables
You can also pull the video signal wires behind the rear seat, to reach the right side of the car. I pushed the cable slightly under the threshold of the car, I did not disassemble the plastics. The glove compartment is easy to remove, it has about 9 screws. One on the right side (remove the plastic cover first), 2 on the bottom and the rest inside the glove compartment.
Because the MMI unit’s cable is very short, I took down the MMI unit that is held by 2 screws. I removed the Quad lock plug by sliding it out, I removed the small blue plug from the Quad lock plug and then, after carefully opening the blue plug (you can’t push the cable without opening the blue plug), I connected the cables:
- Transparent wire on PIN 6
- Black wire on PIN 12

2 – Coding
Module 19 Gateway
- Select Installation List
- Check 6C Rear View Camera
Module 09 Central Electrics
- Select Coding
- Go to Byte 35 and check Bit 4
NOTE: if you have a SOS button
- Go to Byte 38 at Bit 2-3 select 04 camera variant_rvc and select installed
Module 5F Multimedia
- Select Adaptation
- Search for VPS
- Car_Funktion_List_BAP_Gen2_VPS set the new value activated and press Do it!
- Car_Funktion_List_BAP_Gen2_VPS_msg_bus set the new value Terminal 15 and press Do it!
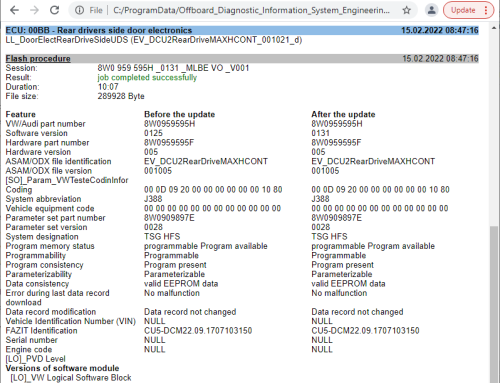
Module 6C Rear view camera
Only if the camera isn’t yet parametrized
- Byte 04 – Bit 0 blocked to 1 = AHK
- Byte 04 – Bit 1 to 1 = Parking aid front + rear installed
- Byte 04 – Bit 1 to 0 = Rear parking aid installed
- Byte 04 – Bit 2 to 1 = Parking Assist installed
- Byte 07 – Bit 0 to 1 = Guides across
- Byte 07 – Bit 1 to 1 = Guides parallel
- Byte 07 – Bit 2 on 1 = Guides Trailer
- Byte 07 – Bit 3 on 1 = Guides cross
- Byte 07 – Bit 4 on 1 = Guides park steering assist installed
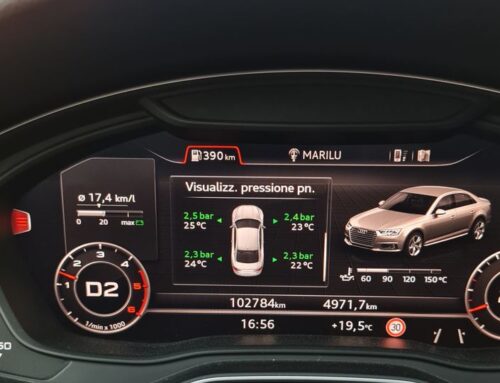
3 – Calibration
Calibration is not needed but is highly suggested as the camera might have a fisheye effect, and with calibration, you’ll see the image more linear and wider.
You need a linear meter, VAS 6154 and a VAS 6350 calibration board.
Place the calibration board at the correct distance from the rear wheels hub (as instructed in ODIS)
Open up ODIS-E \ ODIS-S and select module 6C. Go in the guided function, and select “calibration”.
Follow the instructions and answer the question that are provided in the screen.


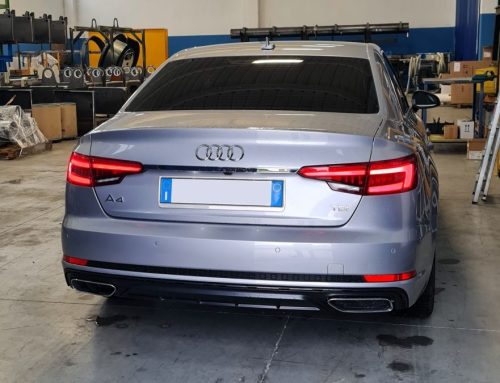
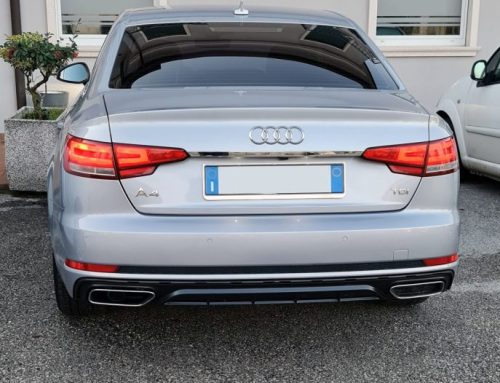

Thanks a lot !! Thanks to your help I managed to mount and operate my camera on my Audi A4!!
Grazie Valerio per i dettagli pubblicati. Ho seguito il tuo tutorial e sono riuscito nell’installazione “fisica” ed “elettrica” della retrocamera. Premessa: ho una a4 8W del 2021 con MIB3. Purtroppo con VCDS riesco solo parzialmente a compilare la programmazione. Ho aggiunto il modulo 6C nella lista del Gateway e riesco a fare la diagnosi del modulo 6C con VCDS. Non riesco ad accedere alle funzioni di codifica e adattamento dei moduli 09 e 5F (i “bottoni” dei VCDS rimangono grigi). Hai qualche imbeccata da potermi dare? Grazie in anticipo, Silvio (Torino)